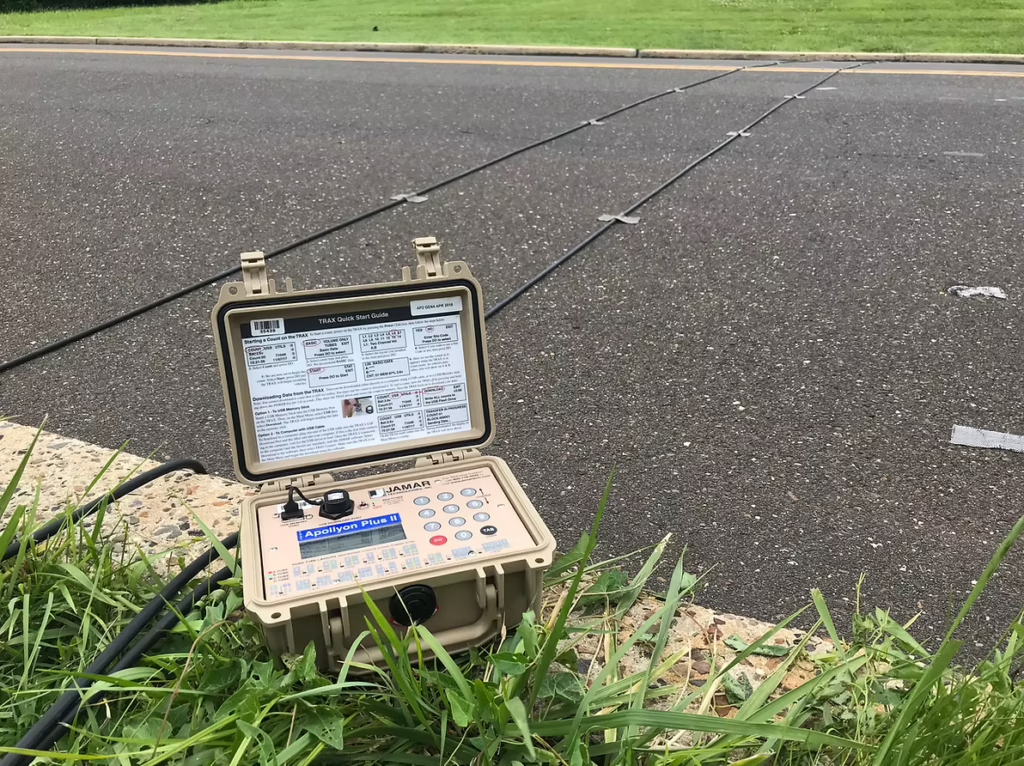
Proper traffic counter tube installation is very important for collecting accurate data with your JAMAR traffic counter.
The following instructions will assist you in placing your road tubes correctly on the roadway.
Proper traffic counter tube installation is very important for collecting accurate data with your JAMAR traffic counter.
The following instructions will assist you in placing your road tubes correctly on the roadway.
IMPORTANT SAFETY NOTE: The following instructions should NOT be viewed as a safety guide. Please follow all safety rules and regulations established by your organization and required by your local government. Different localities may have different laws regarding required safety measures for tube count installations. Always maintain compliance to keep yourself, your co-workers, and the general public safe. Suggested safety items include; a highly visible safety vest, work gloves, boots, safety glasses, traffic cones, and a vehicle with safety lights.
JAMAR currently offers 2 types of road tubes: the Standard tube and the Mini tube.
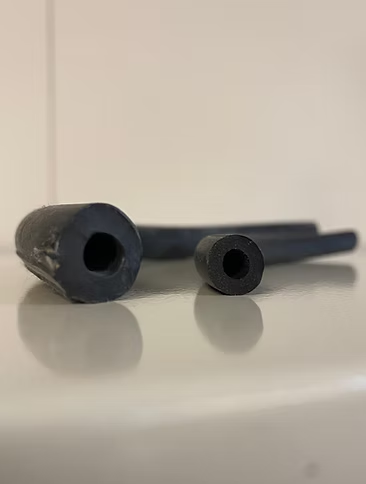
Standard tube is a circular tube with an inside diameter of .187 inches and an outside diameter of .5625 inches.
Mini tube is a smaller, lighter version of Standard tube. Mini tube is a circular tube with an inside diameter of .187 inches and an outside diameter of .365 inches.
*For most applications, Mini tube is easier to install compared to Standard tube. Mini tube has shown to be effective for up to one million axle hits under normal conditions.
*A JAMAR representative can discuss with you the best tube type for your specific application.
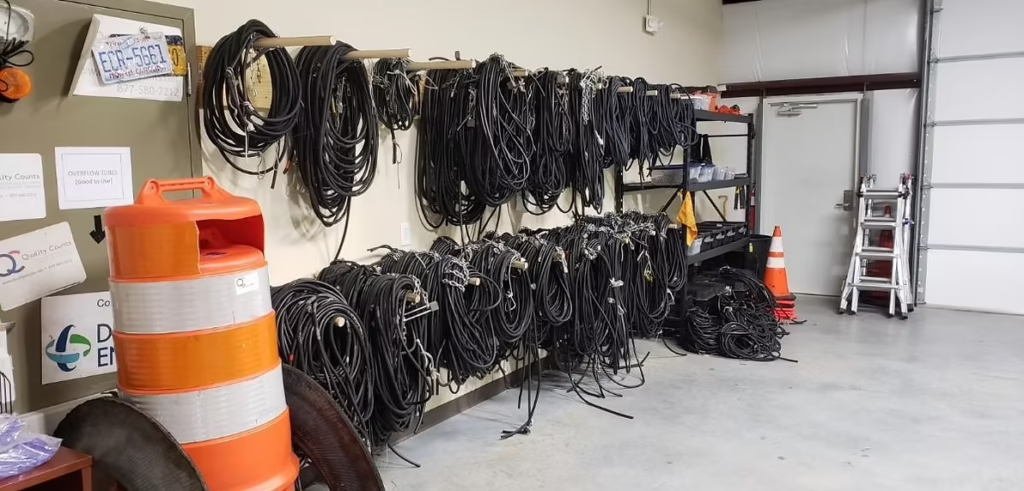
Preparing and maintaining sets of tubes for your counts will cut down your time near the roadway. Anything that minimizes your time in the field will make your job safer. It will also help you to keep track of how many operational tube sets you have at a given time.
The most common types of traffic counts performed with tubes are: Volume, Speed, and Classification counts.
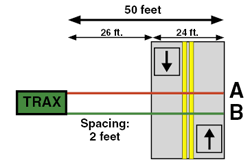
*More detailed information on other tube layout types, including the more complex 4-tube setups, can be found in your JAMAR Tube Counter Manual and on our Tube Layouts page.
Tubes will typically come in a 100’ or 120’ single length of coiled hose. The quickest way to prepare a tube set is to unroll the single length of tube, fold it in half, and cut at the fold. Once cut, you will have a set of 50’ tubes for a 100’ roll or a set of 60’ tubes for a 120’ roll.
Cutting a tube in half is preferred over simply measuring to 50’ or 60’ and cutting. Minor variations in manufacturing and temperature can cause slight deviations from an exact 100’ or 120’ length.
⚠️ CRITICAL: Both tubes must be the identical length to each other.
A product that can help save time on tube preparation is Precision Cut Mini-tubes.
As tubes are deployed and exposed to the elements their condition will wear. This will cause slight variations in tube length and durability. Routine tube testing and visual inspections should be performed before taking sets into the field.
*Faulty tubes can produce bad data collection and even cause damage to the traffic counter.
A common test to ensure airtight tubes can be performed by plugging one end of a tube and using a hand pump or bike pump to pump air into the open end. If there are any holes in your tube, the air leak will be apparent.
*The tubes can also be checked after deployment by using the built-in pulse tester on your JAMAR counter (more info below).
Supplies for a Tube Count Installation
Be sure to have the following supplies so that you can have a successful tube count installation:
*It is recommended to have a toolbox stocked with these accessories. It makes for quick prep time, and having your supplies organized will save time in the field.
1. Mag Nails: JAMAR offers quality, case hardened steel, zinc-plated nails, with a ribbed shank to assure permanent fastening to the road surface. 2 ½” lengths are generally used; use shorter lengths (1 ½” or 2″) in cold weather and longer lengths (3 ½”) in hot weather. 4 sizes available.
2. Anchors: A variety of clamp and anchor options are available based on personal preference and intended use.
3. Mastic Tape: Mastic tape has a rubberized asphalt base with peelable protective paper backing. It is used to secure road tubes to the roadway. The standard (summer) mastic tape is recommended for surface temperatures of 55°F and higher. Comes in 60-foot rolls. 4 sizes available.
*JAMAR staff has extensive field experience, so give us a call and we are happy to provide you with additional tips and tricks to help your install go smooth.
When it comes to collecting accurate data, site choice and installation procedures are just as important as the condition of your equipment.
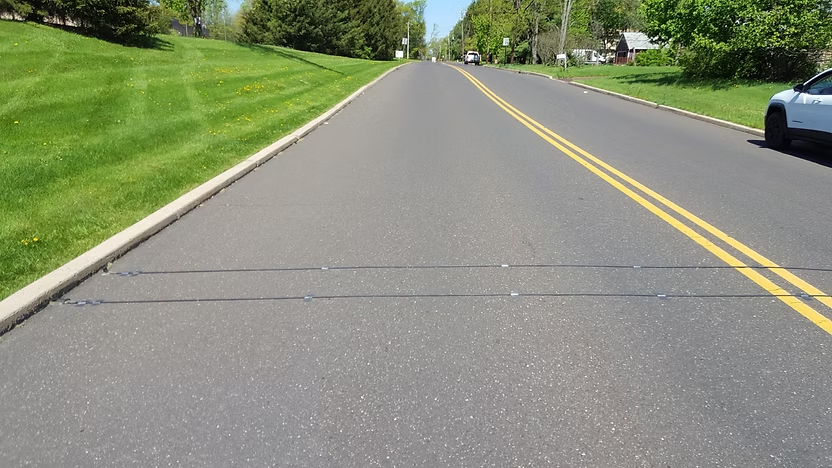

Once you have arrived at your setup location, determine which side of the road you intend to secure your counter. Follow these steps to setup an L-6 tube count:
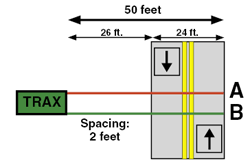
⚠️ CRITICAL: Both tubes must be the identical length to each other.
Fully unroll the tube set outside the roadway so that you can ensure there are no knots or kinks in the tube. Unravel any knots if they exist so that your tube can lie flat on the ground.
One end of this tube set will be connected to the counter (counter end), and the other end of this tube set will be plugged and anchored to the roadway (anchor end).
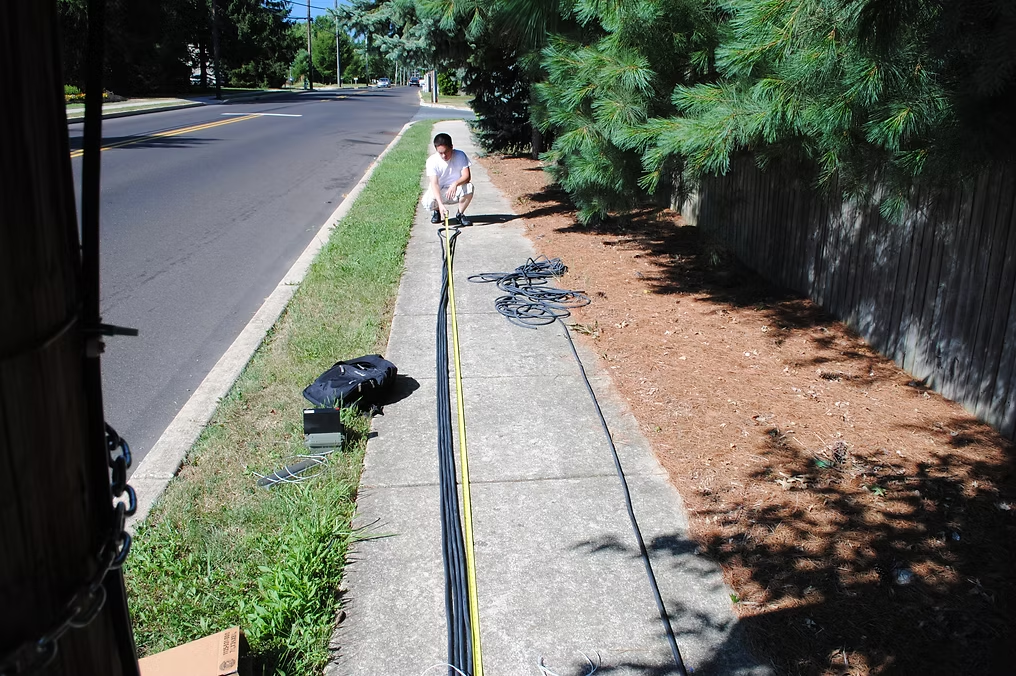

Always install the Anchor-end of the tubes first on the opposite side of the road from where you intend to secure the traffic counter.
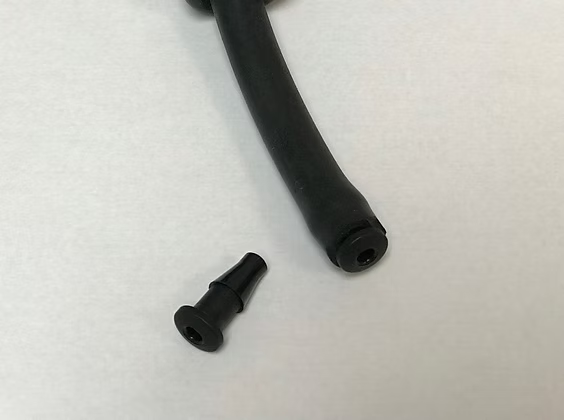
Monitor for a safe break in traffic, then cross the roadway while dragging the 2 tubes low to the road surface. Plug the anchor-end of the tubes with JAMAR plastic end plugs to block airflow.
Use an end plate or galvanized clamp to anchor your first tube by slipping the tube through the opening and pinning it tightly by nailing it into the roadway. Measure exactly 2ft from that nail, and anchor your second tube in the same manner.
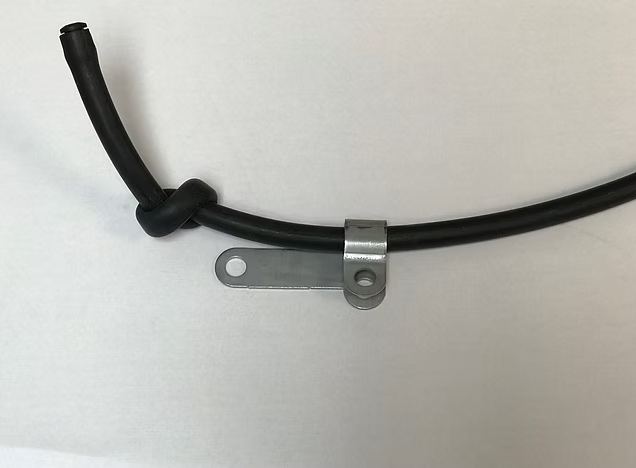
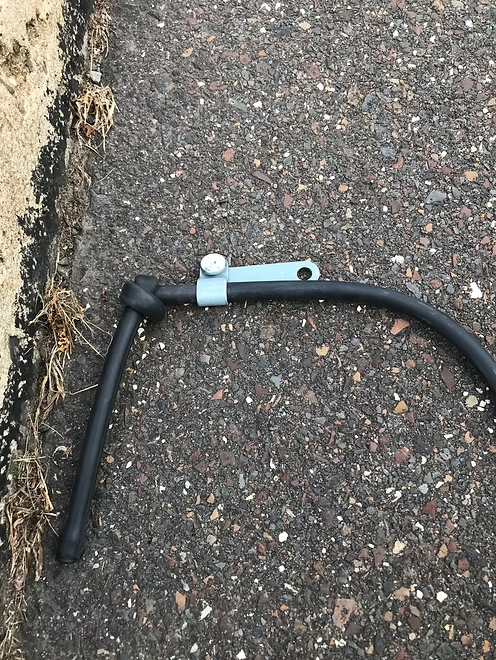
Use an end plate or galvanized clamp to anchor your first tube by slipping the tube through the opening and pinning it tightly by nailing it into the roadway. Measure exactly 2ft from that nail, and anchor your second tube in the same manner.
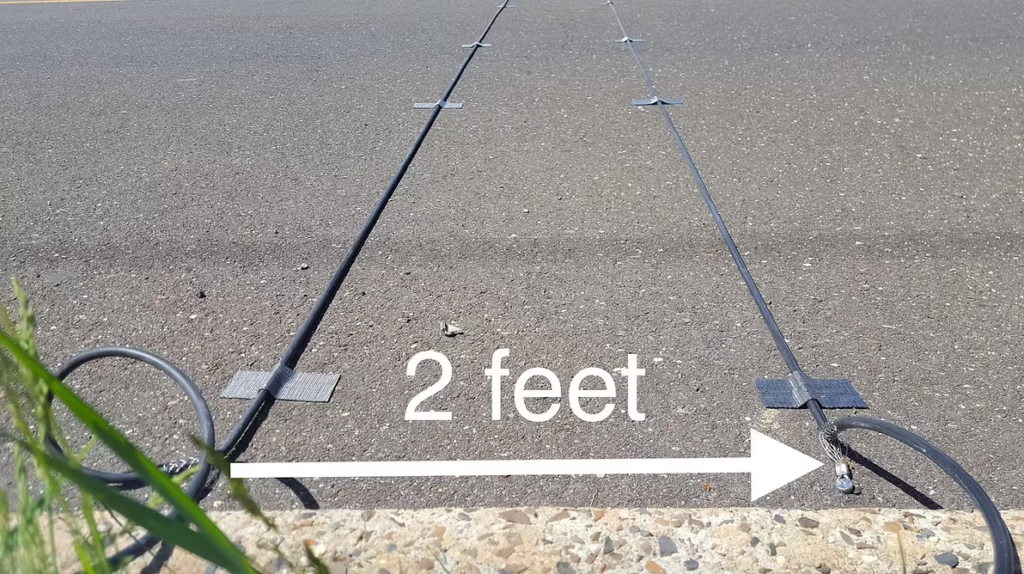
Monitor for a break in traffic and cross the roadway back to the counter-end of the tubes.
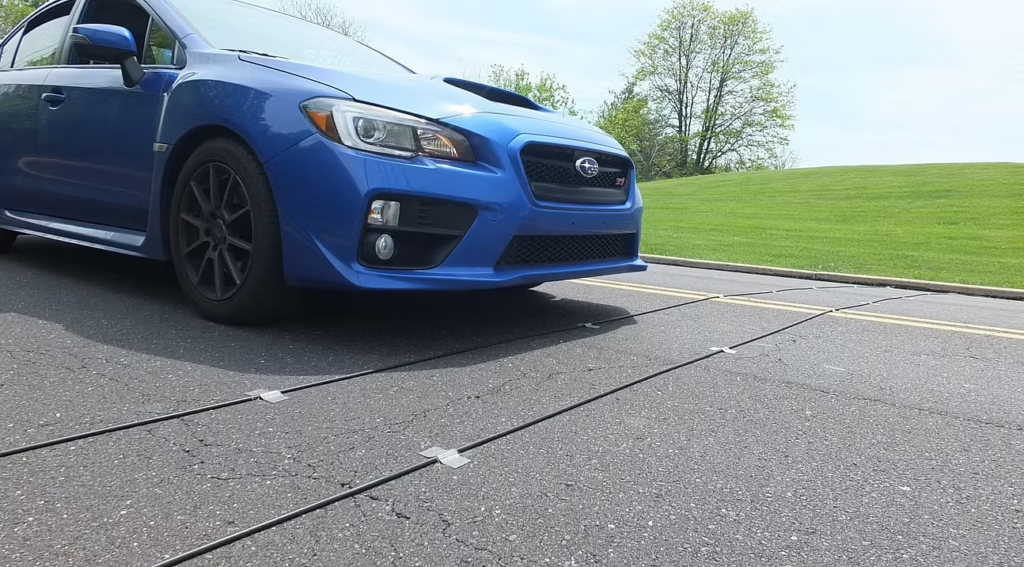
Measure exactly 2ft from the first secured tube and repeat the securing process for your second tube.
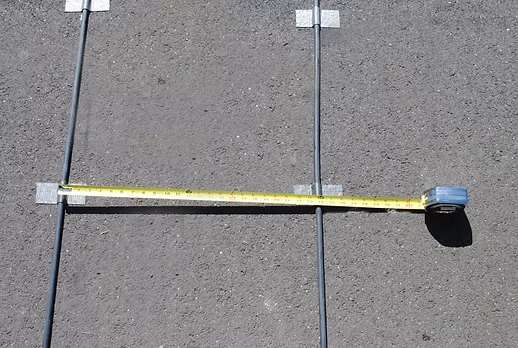
⚠️ CRITICAL: The tubes must be equally spaced (2ft) apart through the entire roadway. Spot check multiple points between the tubes to verify correct, consistent, and parallel spacing.
Stand on the counter side of the road. The lane of traffic closest to you will have vehicles hitting one of your tubes first. The tube they hit first is your “A” tube. The remaining tube is your “B” tube.
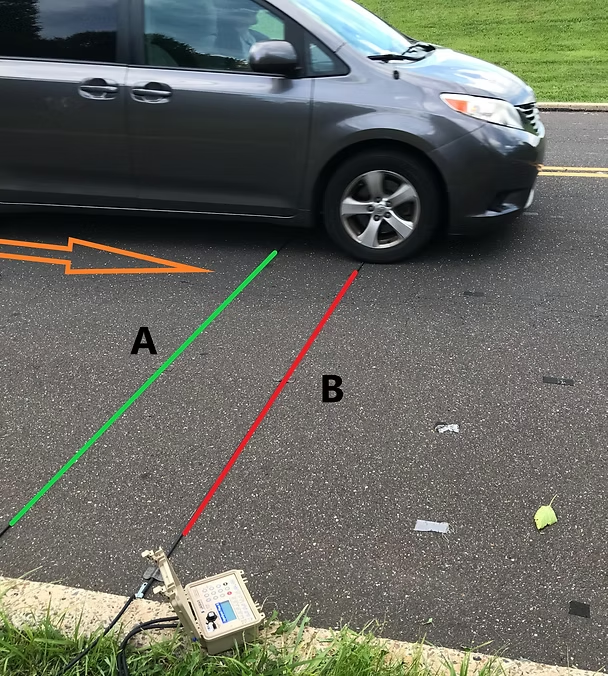
Plug the counter-end of the “A” tube into the “A” port on your counter. Plug the “B” tube into the “B” port.
Apply mastic tape strips over the tubes to prevent rolling and bouncing when vehicles travel over them, especially on high-volume, high-speed roadways.
Pro Tip: Take notes of your setup (e.g., direction of travel for A to B, counter serial number, site information, tube layout, GPS coordinates, exact setup time, and weather conditions).
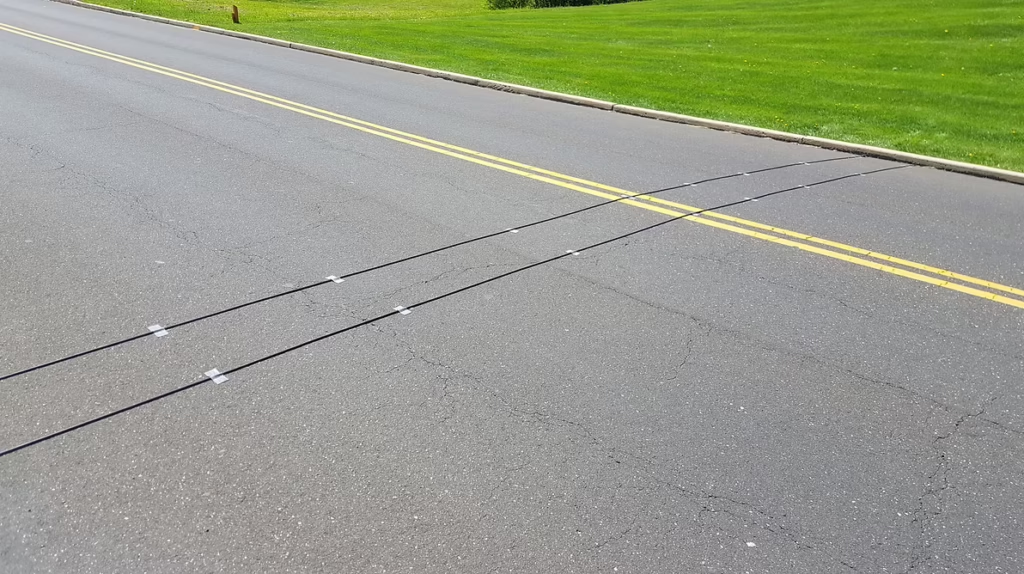
The final process to completing your installation is setting up your count in your JAMAR counter and checking to make sure it is receiving accurate pulse hits.