TDC-Ultra USB Driver

Note: Installing and using the USB drivers for the TDC Ultra is only supported for the Windows 7, 8, 8.1, 10 & 11 operating systems.

IMPORTANT: Two drivers will be installed, one right after the other. When you first connect a TDC Ultra to your computer, the USB drivers are automatically available through Windows Update. This is the recommended method for installing the drivers and is described below.

If you have trouble installing the drivers automatically, they can be installed manually by downloading them from the link below. This file contains everything needed to install the USB drivers for the TDC Ultra.

Installation Steps

Step 1

ultradriver 1

To install the drivers, first connect a USB cable to your computer and then to the USB Port of the Ultra.

Step 2

apollyondriver 2

The Windows ‘Found New Hardware’ message will pop up, referencing USB Serial Converter, then the Found New Hardware Wizard will appear.

If you have not used this feature before, you’ll first see a screen like the one shown here when you first connect the Ultra.

The drivers for the Ultra are available through this feature, so if you’d like to allow the wizard to connect to the Internet, select one of the first two options and click Next.

Step 3

apollyondriver 3

The Windows ‘Found New Hardware’ message will pop up, referencing USB Serial Converter; then the Found New Hardware Wizard will appear.

If you have not used this feature before, you’ll first see a screen like the one shown here when you first connect the Ultra.

The drivers for the Ultra are available through this feature, so if you’d like to allow the wizard to connect to the Internet, select one of the first two options and click Next.

Step 4

apollyondriver 4

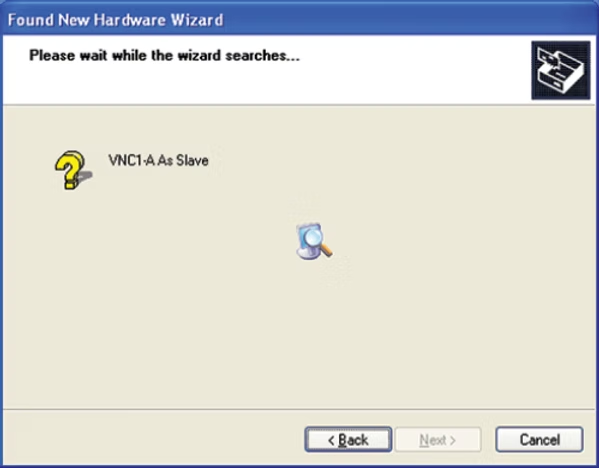
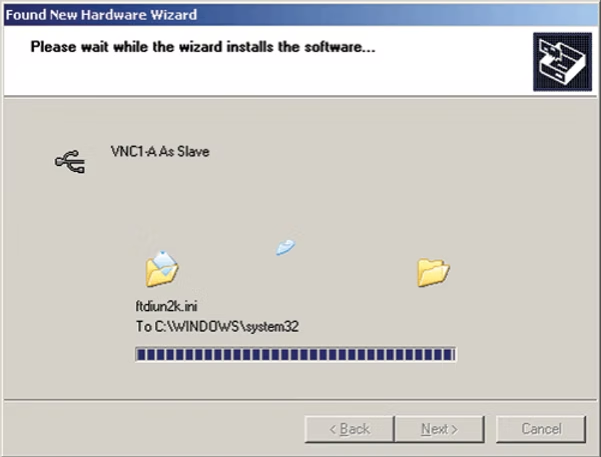
Once you are ready to proceed, click Next. The Wizard will then start searching for the best available drivers, and you’ll see a screen like the one shown here.

Step 5

apollyondriver 5

Once you are ready to proceed, click Next. The Wizard will then start searching for the best available drivers, and you’ll see a screen like the one shown here.

Step 6

apollyondriver 6

Note that if the Wizard finds more than one driver, the Wizard will list all the available drivers. You can then select the one you’d like and then proceed.

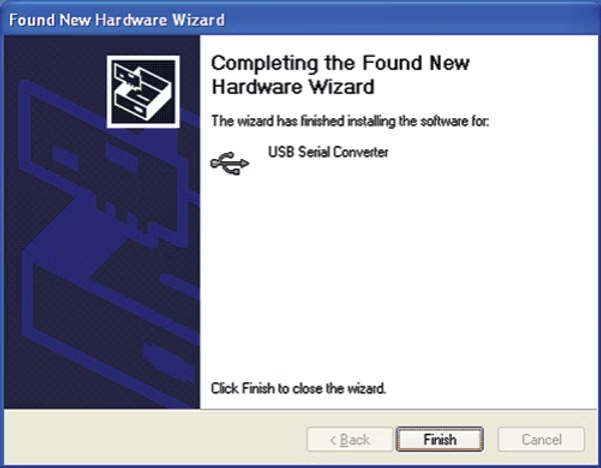
When the driver is finished installing, you’ll see a screen like the one shown here.

Click Finishand you’ll complete installing this driver, but there’s still one more to go.

Step 7

apollyondriver 7

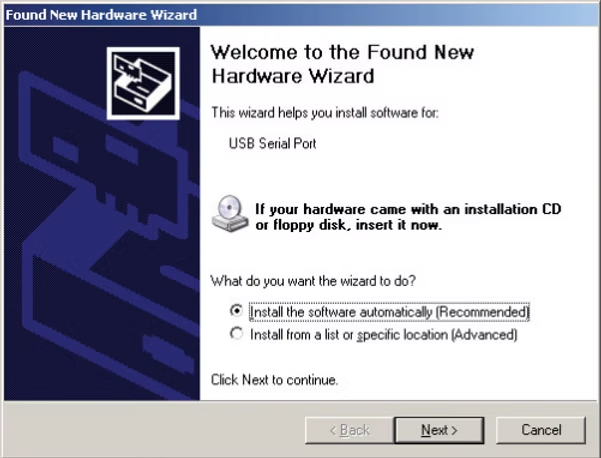
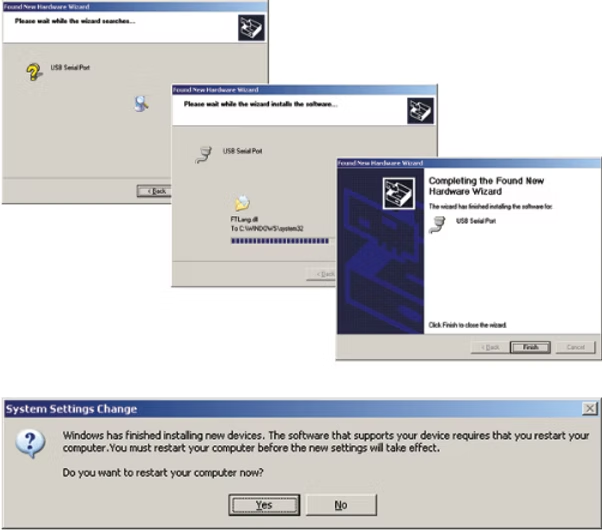
Once you click Finish, the Windows ‘Found New Hardware’ message will pop up again, referencing a USB Serial Port, and the Found New Hardware Wizard will reappear, as shown here.

Don’t be alarmed, this is what’s supposed to happen.

There is a second driver that needs to be installed to create a virtual serial port.

Step 8

apollyondriver 8

To install this second driver, follow the same steps as the first.

Once the second driver is installed, you may see a message like the one below, prompting you to restart your computer.

Step 9

apollyondriver 9

The process of installing the USB drivers has created a virtual comm (serial) port on your computer and assigned this port a number. You will need to select this comm port number in PETRAPro when you go to download your Ultra. PETRAPro makes this easier to do by only listing the comm ports that are available in the download screen. If you want to check to see what port number the virtual comm port has been assigned, you can do so through the computer’s Device Manager list, as shown here.